
-
 About Ideali
- What is Ideali 1 min read
- Why Ideali is different 3 min read
- Who can use Ideali? 1 min read
- $0 Platform fees 3 min read
- Payouts and instant payouts, how you get paid 5 min read
-
 Getting started with Ideali
- Creating your Ideali account 2 min read
- Setting up your organization profile 1 min read
-
 Account Management
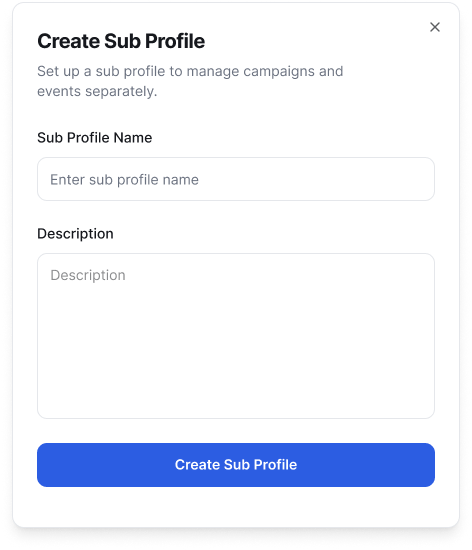
- Sub profiles to manage multiple campaigns 2 min read
- Setting up roles & users 3 min read
- Securing your Ideali account 2 min read
-
 Dashboard
- Navigating your Ideali dashboard 4 min read
- Viewing and managing notifications 2 min read
-
 Finances & Payments
- Setting up your payment account 3 min read
- Preset donation amounts, fixed & recurring 2 min read
- Viewing and filtering payments 2 min read
- Payment methods accepted on Ideali 2 min read
- Why payments fail and how to fix them 2 min read
- Managing your donors list 2 min read
- Managing recurring donations 2 min read
-
 Campaign Management
- Creating a donation campaign 2 min read
- Using the AI description and banner generator 4 min read
- Customizing your thank you email 2 min read
- Managing your campaign after publishing 3 min read
- Share your campaign 2 min read
- Duplicating or cloning your campaign 2 min read
- Managing your archived campaigns list 2 min read
-
 Peer-to-Peer Fundraising
- Getting Started with Peer-to-Peer Fundraising 4 min read
- Managing Supporter Fundraising Pages 3 min read
- Inviting Supporters to Fundraise 3 min read
- Teams and the Leaderboard 2 min read
- How Peer-to-Peer Fundraising Works for Your Supporters 4 min read
-
 Memberships
- Creating and managing membership types 5 min read
- Managing members profiles 2 min read
- Reviewing pending membership 3 min read
- Membership payments and invoices 3 min read
- Membership Custom Lists 3 min read
- Documents 3 min read
- Member Alerts 4 min read
- How to Share a Membership Type 2 min read
-
 Events & Tickets
- Getting Started with the Events Module 5 min read
- Creating an Event with the Event Wizard 8 min read
- Adding Sessions with the Session Wizard 6 min read
- Creating and managing Event Venues 2 min read
- Event payments and invoices 4 min read
- Payment processor fees 3 min read
-
 Auctions
- Getting Started with the Auction Module 5 min read
- Creating an Auction with the Auction Wizard 6 min read
- Monitoring and Sharing Your Auction 3 min read
- Managing Bidders 2 min read
- Editing, Cancelling, Archiving and Deleting an Auction 3 min read
- How Bidding Works for Supporters 3 min read
-
 Tap to pay
- What is tap to pay 2 min read
- Setting up Ideali tap to pay 2 min read
- Tap to pay troubleshooting 3 min read
-
 Integration & Embeds
- Embedding your donation campaign in WordPress 2 min read
- Connecting quickBooks in Ideali 2 min read
- Connecting constant contact in Ideali 1 min read
-
 Ideali for Donors
- Make a donation through Ideali 3 min read
- Optional donor tips 1 min read
- Make a recurring donation 1 min read
- Your donation receipt 2 min read
- How to Register for a Membership 3 min read
- Using the Member Portal 4 min read
-
 CRM Tools
- Building custom forms 4 min read
- Reports Module I: Search custom form answers with Advance Search 3 min read
- Reports Module II: Save and reuse searches with Templates 3 min read
- Communication Module I: Sending emails to your supporters 7 min read
- Communication Module II: Managing and tracking your emails 3 min read
- Send Custom Invoices 4 min read

The modern donation platform that helps nonprofits raise more with easy-to-use, customizable forms and powerful analytics.
Products
Company
Resources
Legal
© Copyright 2026 Ideali.io | All rights reserved.

The modern donation platform that helps nonprofits raise more with beautiful, customizable forms and powerful analytics.
© Copyright 2026 Ideali.io | All rights reserved.
Products
Company
Resources
Legal
The modern donation platform that helps nonprofits raise more with beautiful, customizable forms and powerful analytics.
© Copyright 2026 Ideali.io | All rights reserved.