

Creating Your Ideali Account
Create your Ideali account and complete your profile.
📹 Watch: Create a New Account in Ideali ⏱ 52s
Step 1: Sign Up
Visit the Ideali website and click Sign Up. Enter:
- Organizer Name
- Time Zone
- Email Address
- Password
- First Name
- Last Name
- Phone Number
- Address Line 1
- Address Line 2
- City
- Country
- State/Province
- Zip/Postal Code
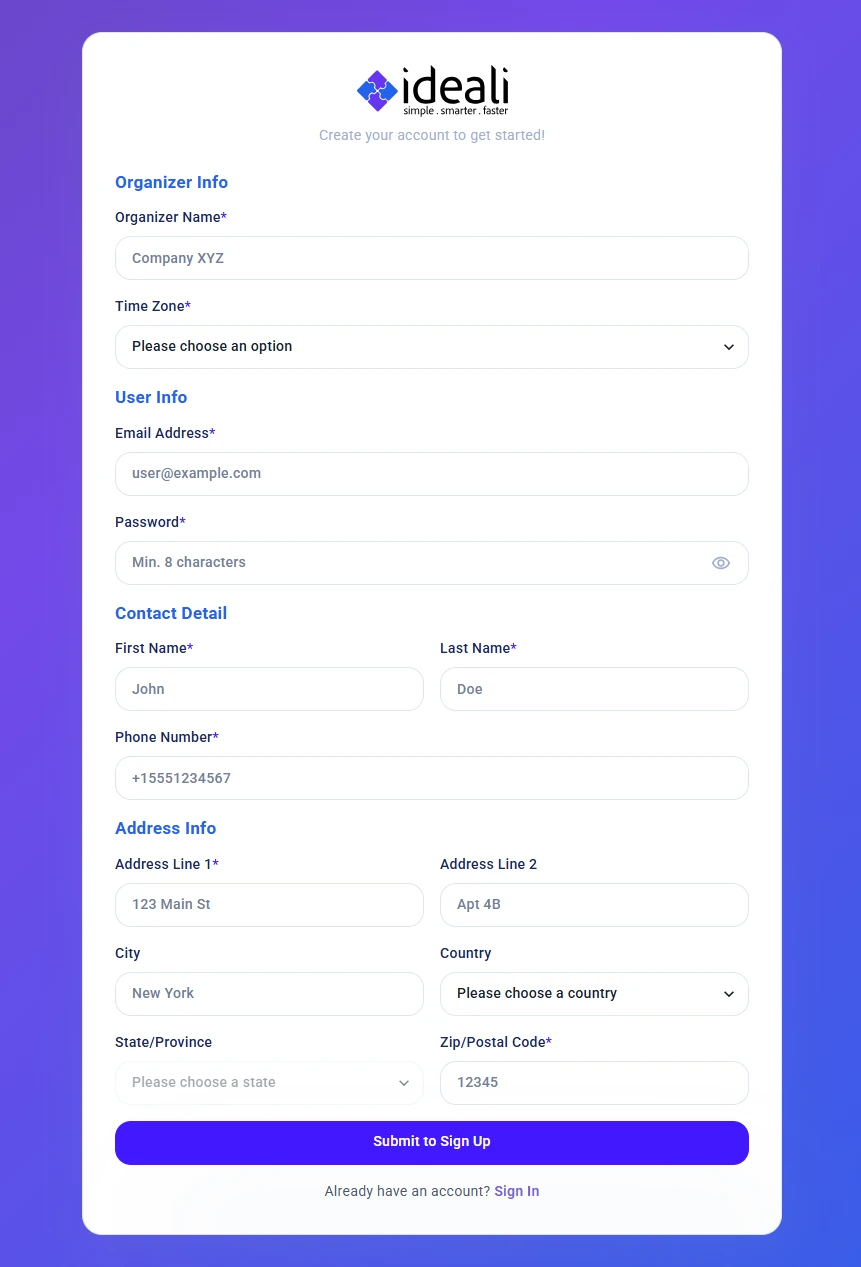
Alternatively, click Login with Google on the Sign In page to sign up with your Google account. You will then be asked to complete a short form:
- Organizer Name
- Email Address (pulled from Google)
- First Name
- Last Name
📹 Watch: Sign-Up with your Gmail Account ⏱ 35s
Step 2: Verify Your Email
Check your inbox and confirm your email address. This step is not required if you signed up with Google.
Setting Up Your Organization Profile
Complete your organization profile by adding your logo, contact details, and description so donors can trust your cause and your branding appears consistently across all campaigns.
After your first login, complete your organization profile so your campaigns look professional and donors can trust your cause.
Go to Settings → Profile and fill in the following:
- Organization name and description
- Organization logo (appears on campaign pages, receipts
Profile Settings
Once signed in, you can view and manage your profile from the Profile Settings page.
Photo or Logo
Upload a photo or logo to represent your organization.
Organizer Info
View and manage your organizer information:
- Organizer Name
- Time Zone
- Two Factor Authentication — An extra layer of security for your account. When enabled, you will be required to verify your identity with a second step in addition to your password each time you sign in.
Contact Detail
Your contact information:
- First Name
- Last Name
- Primary Email
- Cell Phone
Address Info
Your physical address details:
- Address Line 1
- Address Line 2
- City
- Country
- State/Province
- Zip/Postal Code
A complete profile builds donor confidence and ensures your branding appears consistently across all campaigns and communications.